Showing posts with label Youtube. Show all posts

Wednesday, October 7, 2015

WAY TOO LONG!!!


I can't believe I have slacked on my blog for so many months!!!  So many arty and crafty things have been happening!!!  If you follow me on Instagram you have seen a few things...
My newest thing is my Fauxbonichi!!! I am on day 21 now!! I am in love with this daily creative outlet!!  I also joined a Facebook group to support my new found love of the arts!! I hope you all have been well these past few months!!  Comment below if  you have an art journal/daily journal and how are you loving it!!


Tuesday, October 14, 2014

Quick Flip of New Planner: Arc

So this is my newest planner!! I just needed more space that my Daytime couldn't give me!  I have plans for my teal Daytime tho!! So stay tuned!! I will be doing a full video showing my ARC planner... but here is a little flip thru!!
~JES

Friday, September 19, 2014

New Scrapbooking Tool

I am late to the game I know... but I just couldn't handle the money for a tape dispenser. Even though some of my friends and fellow YT scrappers SWEAR by it... I resisted. Anyway  I got on a kick for tapes and I was using Ad Techs disposable ones that you can get at TJMaxx and Marshalls and Tuesday morning... but the waste is nutty.  The cost was pretty good, but it was so short lived. I did about 3 layouts per runner. So I was on the way to the Scrapbook Expo this past weekend ( see video) and had on my mind that if I saw it being sold there I would buy it.
Of course I didn't see it!!  So today I checked my apps for coupons and ACMoore had a 55% off coupon. Now since last week I have been checking all local stores to find the best price. I even used another coupon to buy the refills (yes before I had the glider) LOL... Anywho I used the 55% off coupon at Michaels  to get this set.

I posted on a Facebook group that I got the glider and got a lot of useful tips to a new comer!! Thanks everyone... here are some tips from FB and a newbie(me)
* practice before using the glider on a project
*saves money on tapes
*kind of press up and away to break tape
*you can rub off the tape before really pressing it down
*watch a video to learn how to load/reload the glider... this is the video I watched (I <3 MercyTiara)

Thanks for reading everyone... now I just have to just find where I put those refills I
already brought... LOL

p.s. Here is a link for Amazon... in case you wanted to order online
~JES

Tuesday, September 2, 2014

Storage of Scraps

Just a quick post on how I store my scraps and sticker collection.  I picked these folders in Amazing Savings (location list) which is like a Dollar Tree but things are not only a dollar.... like a chain Thrift store. Anyway... this store has a ton of scrapbooking stuff most K&Company and random brands.  I didn't label the scraps just put in color order. The stickers I had a few more categories so I had to.  Follow me on Youtube to see a video with more information!!

~JES

Tuesday, August 12, 2014

New Daytimer planna


Here are some pictures of my new DayTimer planner.  It is called the Mom planner.  I found this one at Staples.  Once I got home I tried to look online for this planner and Staples online only had the old cover listed. Weird right.  Here are some great things about this planner...

1. Cover seems durable and the stitching around is a nice touch!!

2. 2 years to use... with 2014/2015 embossed on the front above the tab snap closer

3.The months at a glance pages are lined and separated. With a good size space to write goals and notes.

4. Although there is only one pen loop... it can hold a 6 color multi pen really nicely!! I hope it doesn't get streched out over time... so I will have to rotate the pens.

5. The pouch in the back can even hold longer markers and pens.

6. I might have used out my old one... but this planner also comes with a punch hole mini notebook. With about 50 sheets(eyeballling this amout).

7. There is an ABC phone list in the back.  I am not sure if I am going to use these... just cause I do have my contacts in my phone... but maybe I will list a few really imporant contacts in that list. Speaking of that though there is a separate 3 sheets of Frequently Called Numbers... so I don't think I will need to double up on this phone list.  The ABC list might be the only thing I move into the older planner... just to save space.

8. Holidays are listed in the month pages as well as with in the weeks.

9. Saturday and Sunday get the same space as the other days...  I find this the best cause those are just as busy days for me!!

10. There are 3 great colors for this planner... I would say head out to your local Staples to find this one! I payed around $32 for mine... I am sure maybe less with a coupon!!

11. Here is the link to the Day Timer site which still (as of 8/12/14) has this planner on their site.


Tuesday, August 5, 2014

Soft Summer

What is summer without a cup of soft serve?? 

So just to make sure the summer would be complete the boys and I took care of this "task" early!! June 19th to be exact!!  Here are some details of the products I pulled....


                                                                                                           Let's talk about the title... As you might of guessed I took inspiration from the sprinkles as far as the rainbow colors.... After I thought up the title (a real stretch LOL) but then I had the challenge of finding the fonts I had more than 3 colors of... 7 in fact!! Then I grabbed my letters album and searched... this is where I remembered I had those My Minds Eye block letter stickers!! They worked out perfectly!! I had decided I wanted to use the card stock sticker sheet from the Sprinkled with Love collection ... even before the title was thought of... just cause it matched so well with the papers I picked!
 Now on to the papers. I used papers from older collections as well as more resent ones. Studio Calico's Lemon Lush and the Print Shop with the American Crafts 5th & Frolic. A Print Shop collection paper is the background. I believe I ordered that from Two Peas(see next line)
That cute "True Story" badge was from Two Peas ( insert ohhhs and sad faces here...)  
Puffy sticker of Love and arrow is a MAMBI sticker.  I found more than a few of those at Mike's a couple of months back... but I know for sure that they have new ones out!!! The adhesive on those MAMBI sticks are insanely good!!! 
The rest of this layout are just great wonders from my stash!!!  I hope you like this layout and if you got inspired from this one... let me know and share!!! 
~JES

Monday, March 31, 2014

Fall Birthday Minibook


So I finished the mini book that I started 2 weeks ago for my baby son's birthday day.  We went to a
pumpkin patch and apple picking... had soo much fun. It was great that all three of the boys had a good time!! So let me talk a little bit about this book!! I used a "kit" or products from my stash... October Afternoon, My Minds Eye, MAMBI, Recollections, Smashbook, Basic Grey, Paper House, Snap and more! You know what, I just decided to pull from my stash and have fun! I did pull some 12x12s, but didn't really use any. I knew I wanted the book to be more like an embellished photo album than a scrapbook! I grounded each photo by using photo corners.  I have to say those were the hardest to decide on... black, clear, or craft....  In the end I went with the black ones... which I know tied in better... since the binding and pen holder are also black.  I used the Recollection brand.


Here are some hints with doing a One event mini book... 
1. Put your photos in order first. I printed out and numbered all my photos first. I would even trim them down if needed.

 2. If you are using a pre-designed book go thru and see if you love and or need all the pages. This Smashbook minibook had a few pages I didn't want to use. Some I ripped out and some I just glued together.

3. Place the pictures into the book(not glued) so you see how they will look next to each other. I personally went in order of the day... so I could be telling a story with this book as well as showing the pictures!
#5

4. Decide whether or not you will be doing layer and such or just photo corners and journal or Both.  I did both so I really knew that I would be using the photo corners and only a single stripe of glue(glue runner) down the middle of each photo... so later I could tuck in layers and embellies without issue.
#8

5. Add the photo corners to the photo... don't try to put the corners on the page then fit the photo. Add the glue then put on page.

6. Put all the photos down first on all of the pages, then go to town embellishing the mini book.  That way if you come across something in your kit... and you are like "Oh that would go great on the Hayride page" you can just stick it in there.

7. Don't feel like you have to finish it all in one night (like me)! I used a bin and drawer to contain the "kit" while I worked on this minibook.

8. Not every page needs to be a layering masterpiece... some simple pages are good!!  Like this page... I just added stickers of pumpkins to beef up the real pumpkins in the photo.

9. Try doing the journaling after you finish the embellishing. Now that the book is all fun'ed up and lovely... it will be easier to conjure up things to say about the events.  I decided to use one 2 page area for the main journaling since it was of my son's birthday. I also did "one line" journaling thru out the book where I thought some of the pictures needed a bit of explanation.

I had a lot of fun working on this mini book! I couldn't even think that I would be able to do 10+ 12x12 layouts as well I did this mini book. Thanks for stopping by and check out these hints and photos. If you want to see more please click here for the YouTube video that is live right now!!

I did the "heaviest" layering on the back and front covers.

Monday, March 24, 2014

HSN is craftin' today!!

If you are a fan of TV shopping... check out HSN for their craft days!!! Today's special is looking really good to me cause I don't have any machines.... I KNOW I KNOW!!! LOL!!! Follow me on Instagram and Youtube to see what I have been hauling lately and if and what I pick up today from HSN!!  Happy shopping!

Sunday, March 9, 2014

First one back!


Hey CSM!!
So I have finished my Christmas 2013 Smashbook (click here for flip thru video) and this is going to be my first 12x12 in about 2 months!! I picked a photo I could concentrate on the colors ie. a picture without a person in it.  I find that when I take a long break from one way or the other the best "start back" layouts come from photos I don't have to "make sense".  Does that make sense??
I mean if I had a picture with the boys walking on the sidewalk... I would have to have the embellies relate to walking, the boys, where we were going, the season etc... But when I use a photo with say this flower I can just do the colors and embellies I want. Simple. I will share the final layout after I finish!!  Have a great coming week!!


Tuesday, February 18, 2014

DIY pocket and Baby gets the Tree

I have been really enjoying doing this Smash book!! Something about having a "kit" of products and one place to put everything has really kept me motivated to keep going!  I counted yesterday and I have about 7 more layouts to do.

This page features a pocket that I did to give a home to 3 super cute pictures of the baby attacking our tree!! I hope you all enjoy this!!
Any questions ask below or on Youtube!

Wednesday, January 1, 2014

Happy New Year: Fun for 2014!

So my word for the crafty year of 2014 will be FUN!! I want to try new things and new techniques and just have fun with my hobbies!!!  This layout is still under way and totally inspired by 2 videos by the amazing Wilna Furstenberg here and here are her 2 videos!!

Here is a peek at the layout... when I complete it the full picture will be up on here CSM, Instagram and the Two Peas site!!


Tuesday, December 10, 2013

First Week of December Daily review

Hey CSM!! I hope you guys had a great first week making December Daily memories!! Here are the first 7 cards!!  I post on Instagram daily so check them out there too!!  Thanks for all the likes on Instagram guys it really really means a lot to me!! Any questions on any of the tools or products used please let me know!!  
Also if you guys are doing process videos for your December Dailys please link below... I love watching them!

Friday, December 6, 2013

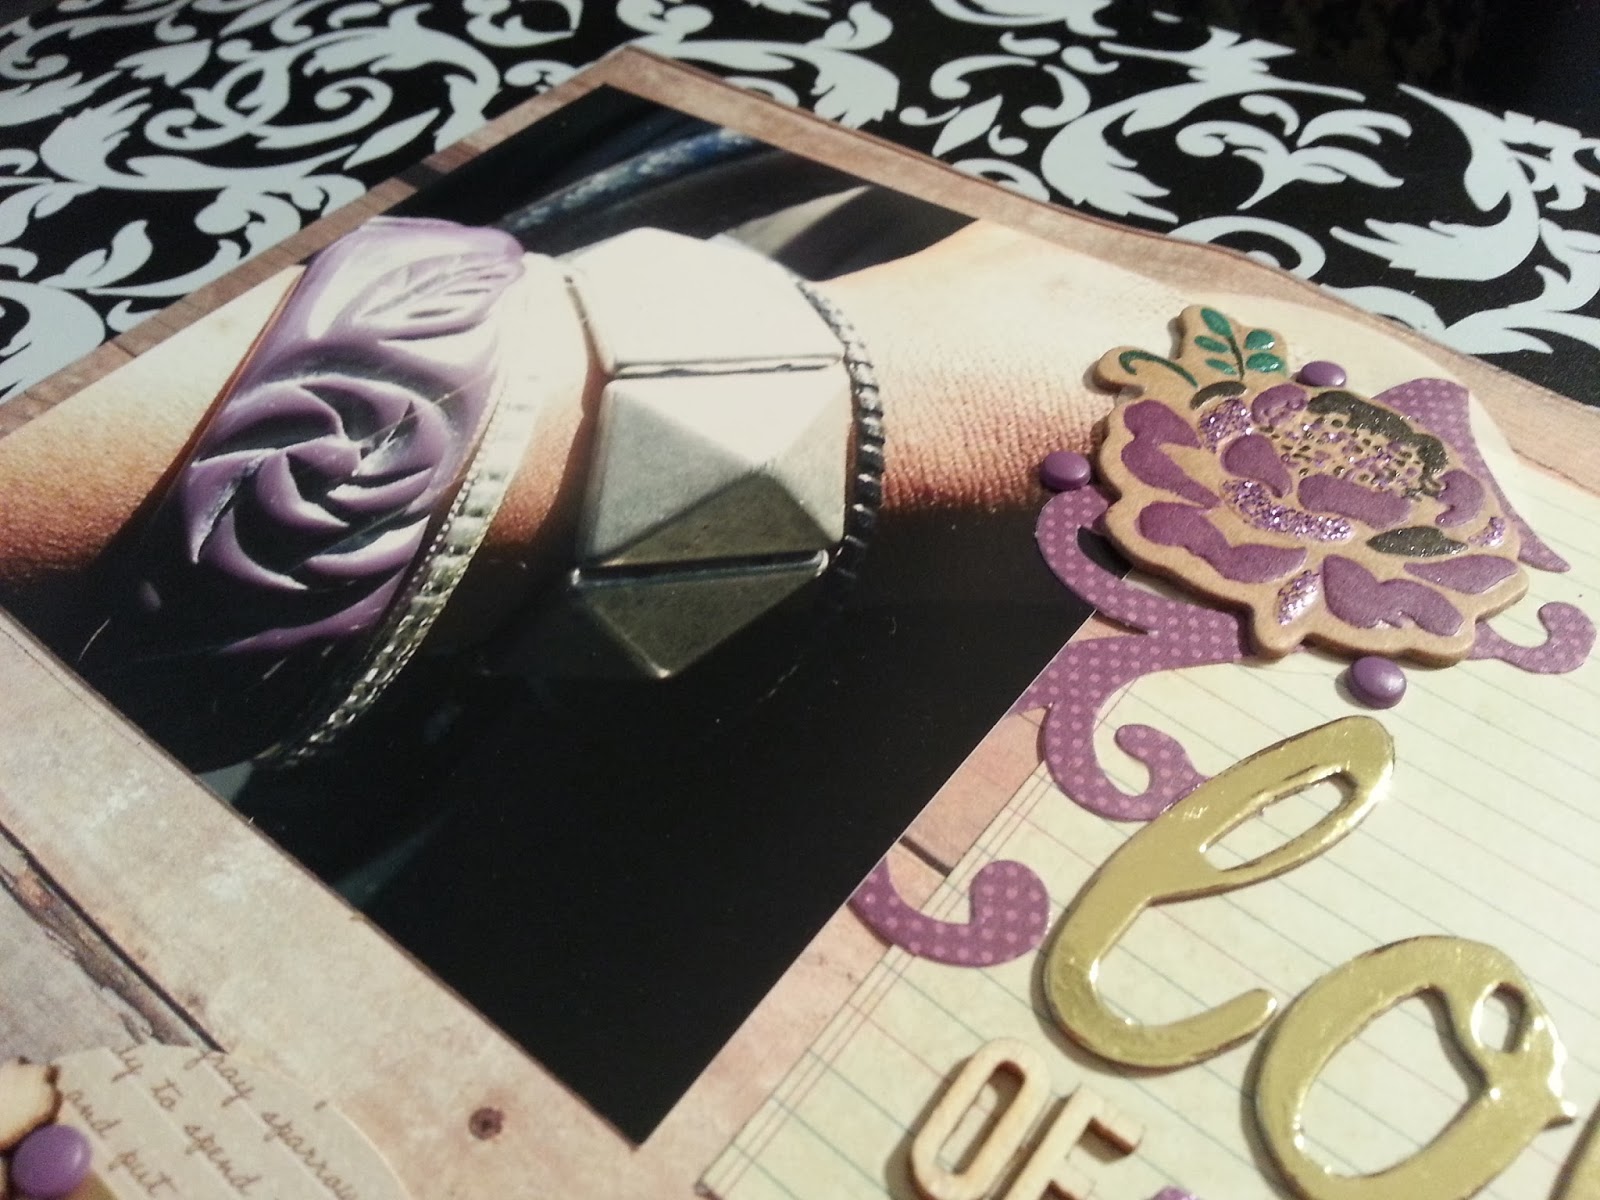
Lover Of Purple


So I have been all about Two Peas this past few weeks... and I really got inspired by a video from the Seeing Double series. As I was watching I really knew excatly which pictures I wanted to use and everything... Well you know what they say about plans!!  Anyway I looked thru my pitcures and found two pictures I had posted on instagram and then printed via Walgreens and decided to use those.  I am soo happy with this layout!!
Purple is by far by favorite color and I don't get to use it a lot while scrapbooking about my boys. So I was definitely excited to start looking thru my stack of purple papers and bits!! The only thing about this layout that I didn't like was I HAD to use my favorite paper ever :) ... Bird Song collection Enlightenment by Graphic 45. I even posted on Instagram about not wanting to use it... I was hoarding it I know. Listen I had 2 sheets... I used the first sheet to create my Filofax cover and this sheet I was holding on to... but it was just to prefect not to use! I used papers from: Graphic 45, My Minds Eye, Studio Calico, Sn@p, Recollection by Michaels and American Crafts. Heidi Swapp, Studio Calico, American Crafts and other bits from my stash for the embellishments!  Here is the link for the TwoPeasInABucket video by Lisa Dickinson and here are pictures on my layout! See if you get inspired by it too!! I'm posting on my TwoPeas account also... Look for the post in the Gallery!!


Enlightment by Graphic 45


 ~JES

Monday, December 2, 2013

December Daily my way!!

So the December Daily craze has started again!!! I am on this bandwagon, but only in the wheel well! When The Coco Martha mentioned it to Swtdreamz03 and I at the Scrapbook expo in Sept... I was like what is that???  I didn't think about it again until Oct. And before I checked into it I just figured it was a daily calender!! So I decided that I would create a flip calender, but couldn't find exactly what I needed. So I went with a clipboard, and I am sooo happy with the outcome!!!  Now I started this back in October so I would be finished by December, but it turns out that I am only on day 18 so I have some still to finish up.  I am doing a daily video of all the cards... today's video was only 50secs so these are short videos! I am hoping none will be longer than 2 mins!
I have a few videos done about the cards that I will share below and don't forget to follow me on instagram  (craftyscrappymamas) so you can see the still pictures of the cards each day.  I will do a weekly group picture post on here too!!! Happy December!!


***A few people have asked why am I doing a calender and not a full on December Daily book... quite simply I didn't know it was daily scrapbooking at first.  And there would be NO WAY in my crazy life that I could scrapbook or even print the photos for the days every day!! This just works better for me and my family!!  Enjoy your holidays!!***
 PLEASE PLEASE PLEASE share below your links to your December Daily!!

Creating December 1st card!


Creating December 2nd card!


The Clipboard!


Wednesday, November 27, 2013

6 week layout!!!

Here is a layout I finished last night!! I have been straving for some scrapbooking, but I have been doing Halloween layouts and December Daily calendar cards!! So last night I finished a layout that I started 6 weeks ago!!!

Check my instagram for proof!!! I love how it came out and I am ready to do some more just fall ones today and tomorrow!!! This weekend I will finish up my December Daily cards and holder!!! Just in time for December!!! Got to go scrap!!!


I am on Two Peas also!!

Follow on Instagram!!

Instagram

Search This Blog